Lately I’ve been taking even more photos. Not just pictures of Manhattan buildings, but of people. So excited about the new challenges!
I had a new camera to try out, the Fuji X100T. I really like the classic chrome filter. It’s beautiful for cityscape images. It came out great before for the views on Hudson River.
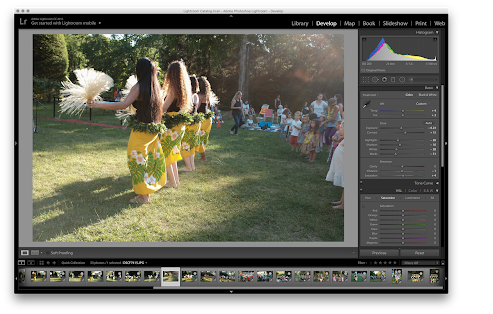
However, classic chrome is not the right filter for sunset timed outdoor dance performances! I let someone borrow the camera while I performed a show last week so didn’t realize until afterwards when I reviewed the photos on my computer. Luckily Adobe Lightroom makes it easy to edit the lighting and colors to produce beautiful images. Wanted to share a bit of my process behind the scenes.
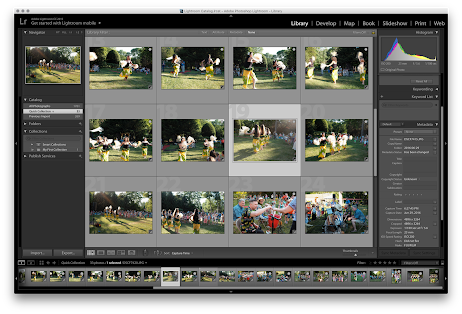
Scanning through photos quickly
This step I prioritize the editing work. Decide which shots should be published first, which should be deleted, and so on. The ones I published right away the day after the show were the photos that needed less editing.
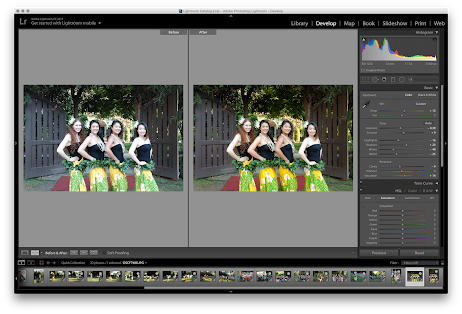
Editing
While editing I’ll tweak mainly the exposure and temperature over on the right panel. Generally I’ll find for the classic chrome, it is a tad too bluish in tone and not enough contrast. I amped those settings up to make the photos pop more. Really wanted the sunshine rays to come alive.
Lightroom gives you the option to view side by side comparison of before and after. I rarely peak at this because I’m coming from VSCO and Instagram app filters and rarely found it necessary to look back at the before. When it feels right is how I go… I’m not too precise these days because the time crunch ![]()